I dwell not removed from a fantastic park on the Saint Lawrence River bench. I go to the park on a just about day by day foundation. That is the place I am going for a run or household picnic, and it turned my testing floor for brand spanking new photograph tools.
About eight years in the past, early within the spring, I noticed two huge geese within the park, and so they made a house there for the remainder of the 12 months. The next season they returned and introduced with them six or seven pals. Three years later, there have been round 20 birds, and the seasonal inhabitants of gray geese saved rising yearly. Our native park turned a nesting floor for greater than 100 birds. They turned a neighborhood attraction and one of the best indicator of seasonal change.
Once they fly away within the late fall, you’ll be able to make certain that the nice and cozy days are over. And after they seem within the spring, it signifies that winter shouldn’t be coming again.
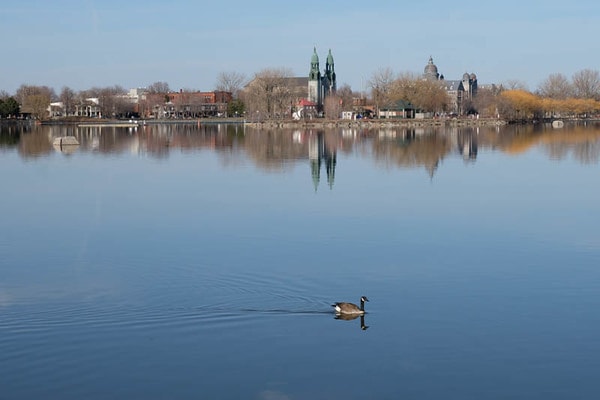
The featured photograph illustrates my first encounter with geese this 12 months. Spring is formally right here!
Loc: 45.431538, -73.688518
Taking pictures
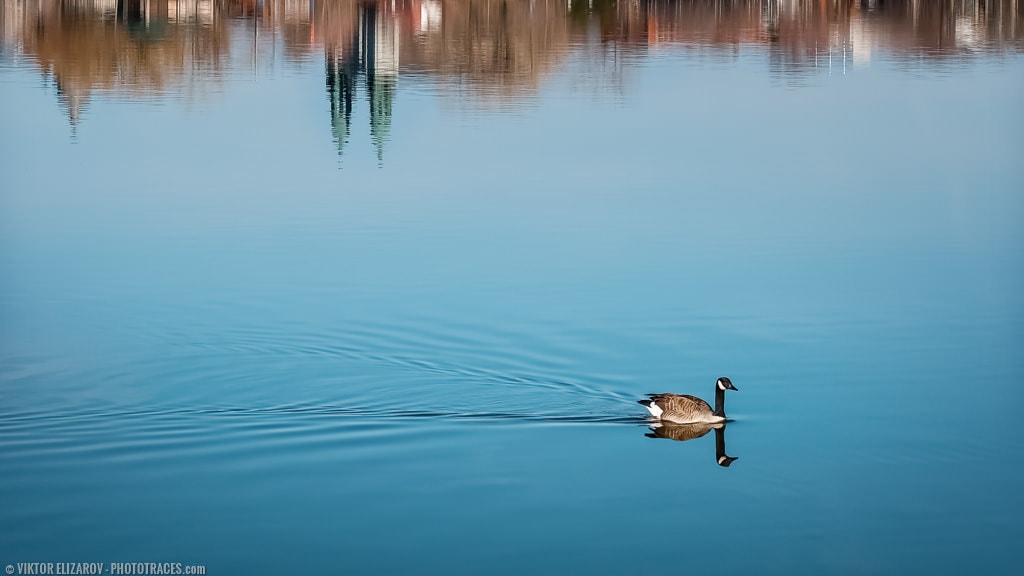
The problem was the goose was shifting quite quick, and I didn’t have a lot time to compose the shot I wished. I ended up with a number of pictures I didn’t like. So, I needed to cheat. I loaded the photograph in Photoshop and flipped the highest half, the place the reflections are, to realize a extra balanced composition (see unprocessed model beneath).
Digital camera: Fujifilm XT2
Lens: Fujinon 18-135mm
Focal Size: 47mm
Taking pictures Mode: Aperture Precedence (A)
ISO: 200
Aperture: F11
Shutter Pace: 1/250s
Tripod: FEISOL Match CT-3442
Modifying & Processing
It was a single RAW processing workflow.
Lightroom (50%)
First, I used the Crop Overlay to straighten up the {photograph}. I additionally modified the side ratio from 3 x 2 to 16 x 9, and I cropped out the highest of the body, protecting the reflections solely.
I used the method I outlined within the article: Learn how to Straighten a Picture in Lightroom.
Subsequent, I
The Lightroom Preset Modifying System: Level Lobos (10, 13, 20)
Photoshop (50%)
In Photoshop, I duplicated the background layer, flipped the copy horizontally, and used the transparency masks to mix the two layers collectively.
Plugins: DeNoise (noise discount), Topaz Element (native distinction enhance).
Complete Time: 20min
Earlier than & After Transformation