
Image this: you’re on a hike, bushwalk or different journey, maintaining an excellent tempo. It’s a heat day, and also you attain to your hydration hose. Sucking in a mouthful of water you style a cool, not-quite-right flavour that screams, “Hey, you’ve been cleansing your sleeping bag greater than your hydration bladder!” To be trustworthy, I’m not good and guilted myself into scripting this information as a result of I simply checked out my chunk valve and it was like wanting into Dante’s sixth cycle of hell, HERESY!
Let’s dive into the straightforward steps to totally clear your hydration bladder (whether or not it’s a Platypus, Supply, CamelBak, or my favorite that I’ve been utilizing for 8 years, Hydrapack, that are top-shelf dishwasher secure and might flip inside-out like a sock) and hold your water tasting as crisp as that creek you simply crossed.
Why Cleansing Your Hydration Bladder Issues
That moist (there’s that phrase), dank surroundings inside your hydration reservoir is the proper breeding floor for mould, micro organism, and biofilm—that slimy stuff that builds up over time (hmmm, tasty!). Not solely can this make your water style like a fish milkshake within the solar, however it might probably make you sick, which is the very last thing you need once you’re nonetheless hours away from civilisation.
Fast Cleansing After Every Journey
One of the best upkeep behavior is giving your bladder a fast clear after each hike. Right here’s how I do mine:
- Empty any remaining water fully from all elements (bladder, hose and chunk valve)
- Add it to my washing up pile on the kitchen sink and wash with heat (not sizzling) water
- Suck it as much as get the soapy water by the hose
- Rinse with heat water
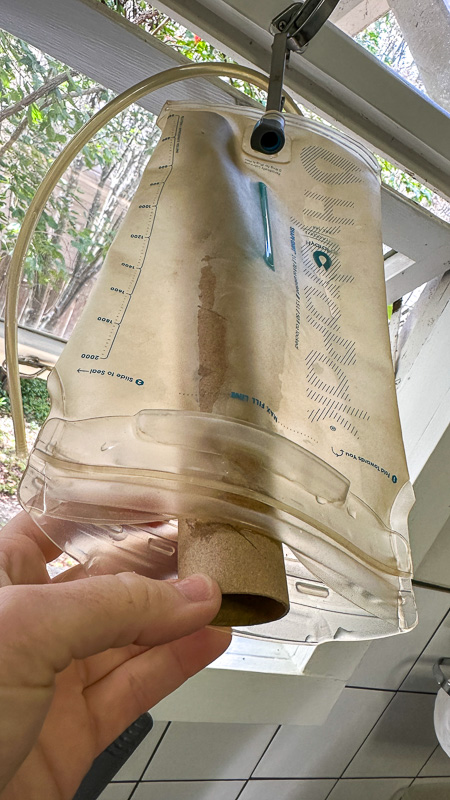
- Dangle it the wrong way up with the opening on the backside and a cardboard tube inside to maintain it open (see image)
- Impersonate a cowgirl by holding the hose by the chunk valve and swinging it round to push extra water out (be careful you don’t hit something or anybody!)
- Depart it to dry fully earlier than storing
That easy routine will forestall most points, however each few adventures (and particularly after an extended multi-day journey), you’ll need to do a deeper clear.
Deep Cleansing Your Hydration Bladder
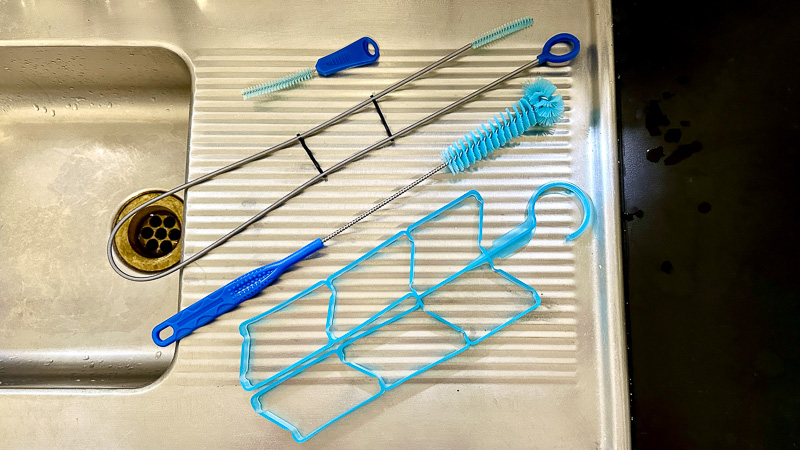
What You’ll Want
Step-by-Step Cleansing Course of
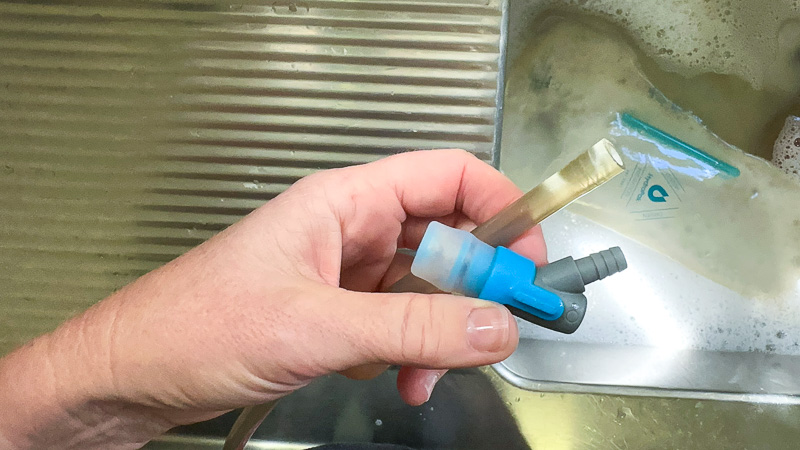
1. Disassemble Every little thing
Take aside all parts—take away the tube, chunk valve, and every other removable elements. Many valves have small elements that may be separated for thorough cleansing.
2. Preliminary Rinse
Flush the whole system with heat water to take away any unfastened particles.
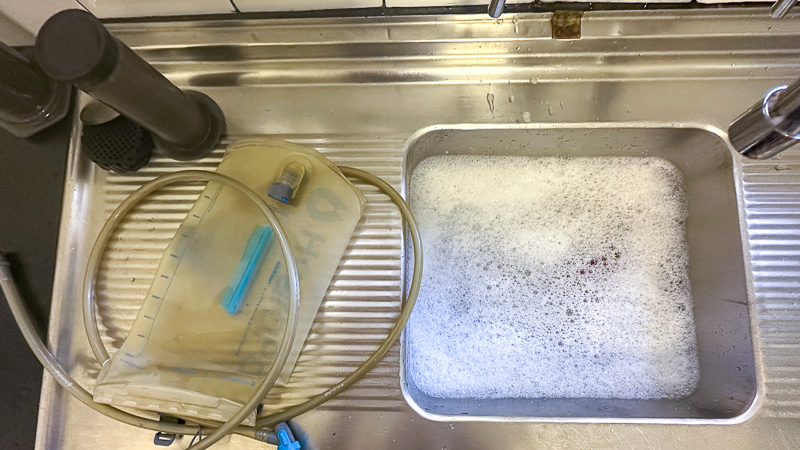
3. Soapy Wash
Add a number of drops of dishwashing liquid and about two tablespoons of baking soda to heat water. Fill your bladder about midway, then seal it up and provides it an excellent shake. The baking soda helps neutralise odours whereas the cleaning soap breaks down residue.
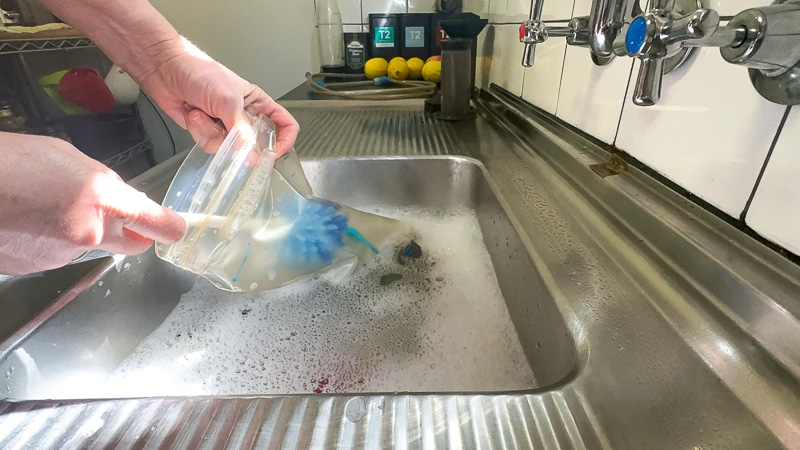
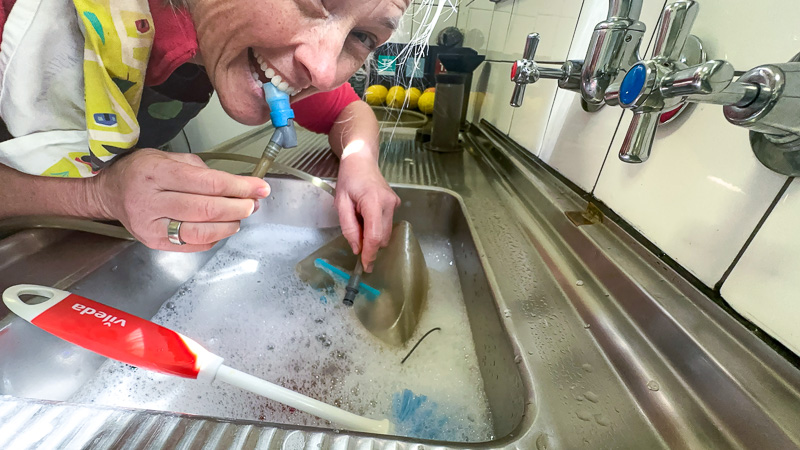
4. Scrub Time
Use a gentle bottle brush to softly scrub the within partitions of the bladder. Pay particular consideration to corners and seams the place gunk goes to die.
For the consuming tube, both use a specialised tube brush or fill the tube along with your cleansing answer and pinch each ends, then work the answer by by gently bending and squeezing the tube.
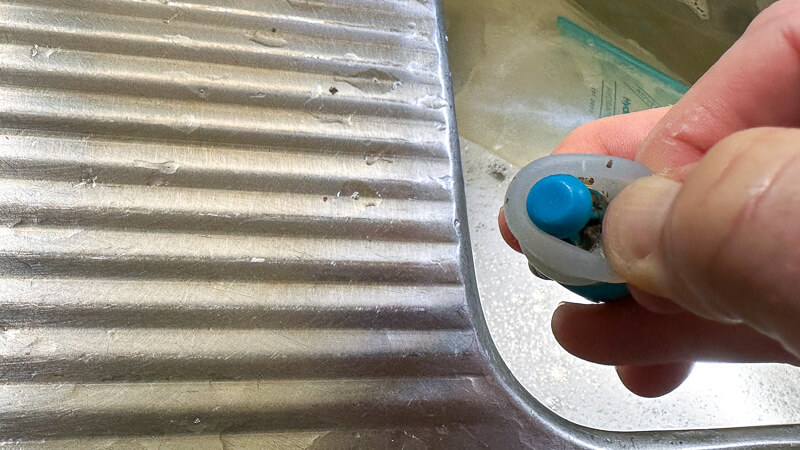
5. Sort out the Chew Valve
The chunk valve deserves additional consideration because it’s the place your mouth contacts the system and is the place my heresy lives. Soak it in your cleansing answer, then use a small brush (a clear toothbrush works nicely) to wash all of the nooks and crannies.
6. Vinegar Rinse
For cussed tastes or smells, create an answer with one half white vinegar to 4 elements water. Fill the bladder and let it sit for about 20 minutes. The gentle acid in vinegar is great for killing micro organism and neutralising odours.
7. Last Rinse
Totally rinse all the things with clear water a number of instances till all cleaning soap and vinegar smells are gone.
8. Correct Drying – The Most Vital Step!
That is the place most individuals fall quick. Correct drying prevents mould development:
- Dangle your bladder the wrong way up with the opening on the backside
- Use a cardboard tube inside to maintain it open (see image)
- Place paper towels inside to soak up extra moisture
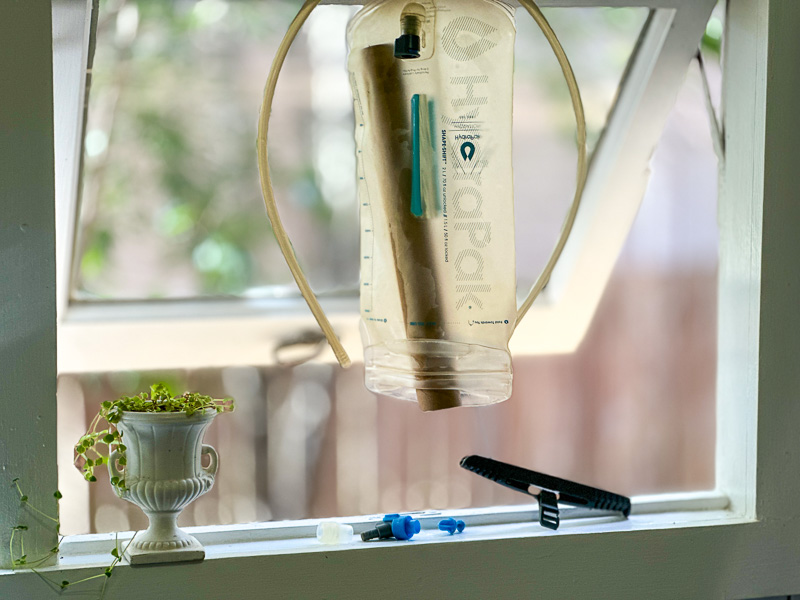
- Preserve the tube hanging straight down (I exploit a curtain hook with clip from Ikea. Bunnings or Highlight have comparable ones too)
- Impersonate a cowgirl by holding the hose at one finish and swinging it round to push extra water out (be careful you don’t hit something or anybody!)
- Retailer in a cool, dry place out of direct daylight
- Enable 24-48 hours for full drying
Coping with Cussed Mould or Odours
In the event you’ve uncared for your bladder and found mould (we’ve all been there!), don’t panic:
- Create an answer with two tablespoons of baking soda and 500ml of water
- Fill the bladder and let it soak in a single day
- Within the morning, add 1 / 4 cup of white vinegar and let the fizzing motion work for about 5 minutes
- Rinse totally and observe the cleansing steps above
For persistent issues, attempt denture cleansing tablets (like Polident or Steradent)—they’re sensible for breaking down buildup!
Storing Your Hydration Bladder Between Hikes
After guaranteeing all the things is totally dry:
- Some folks swear by holding the bladder of their freezer to stop bacterial development (I’ve by no means had to do that)
- Alternatively, retailer it with a clear paper towel (or that cardboard tube) inside to maintain the partitions from sticking collectively
- Preserve it open for airflow
How Typically Ought to You Exchange Your Hydration Bladder?
Even with correct care, most bladders must be changed each 2-3 years relying on how typically you employ them, particularly if Dante can be proud. Search for indicators like:
- Persistent dangerous style or odour regardless of cleansing
- Seen mould that received’t clear off
- Cracks or leaks
- Chew valve deterioration the place the silicon is perishing
Can You Put A Hydration Reservoir In A Dishwasher?
Some manufacturers, like my HydraPak are top-shelf dishwasher secure. Most different manufacturers suggest hand washing.
Last Ideas
A clear hydration bladder is could make a giant distinction in your outside expertise. Don’t gross your self out (like I did) by leaving it too lengthy.
And bear in mind, staying hydrated on the observe is essential for security and pleasure—so ensure that what you’re consuming is as contemporary because the air round you and will your water all the time style pretty much as good as these summit views look!